NVIDIA Jetson AGX Thor Developer Kit — Unboxing and Setup
Since NVIDIA has released information on the NVIDIA Jetson AGX Thor Developer Kit, I’ll be postingvery first review article. As a note, as of 8/26, both the Thor Developer Kit and JetPack are at the review stage, so the specifications may change with future updates.
Thanks to NVIDIA HQ, I received an early Jetson AGX Thor Developer Kit last week. I’m likely among ~100 people worldwide who have access right now. In this first post of a short series, I’ll cove rth unboxing and initial setup.
Note: As of Aug 26, both the Thor DevKit and JetPack are in review; details may change.
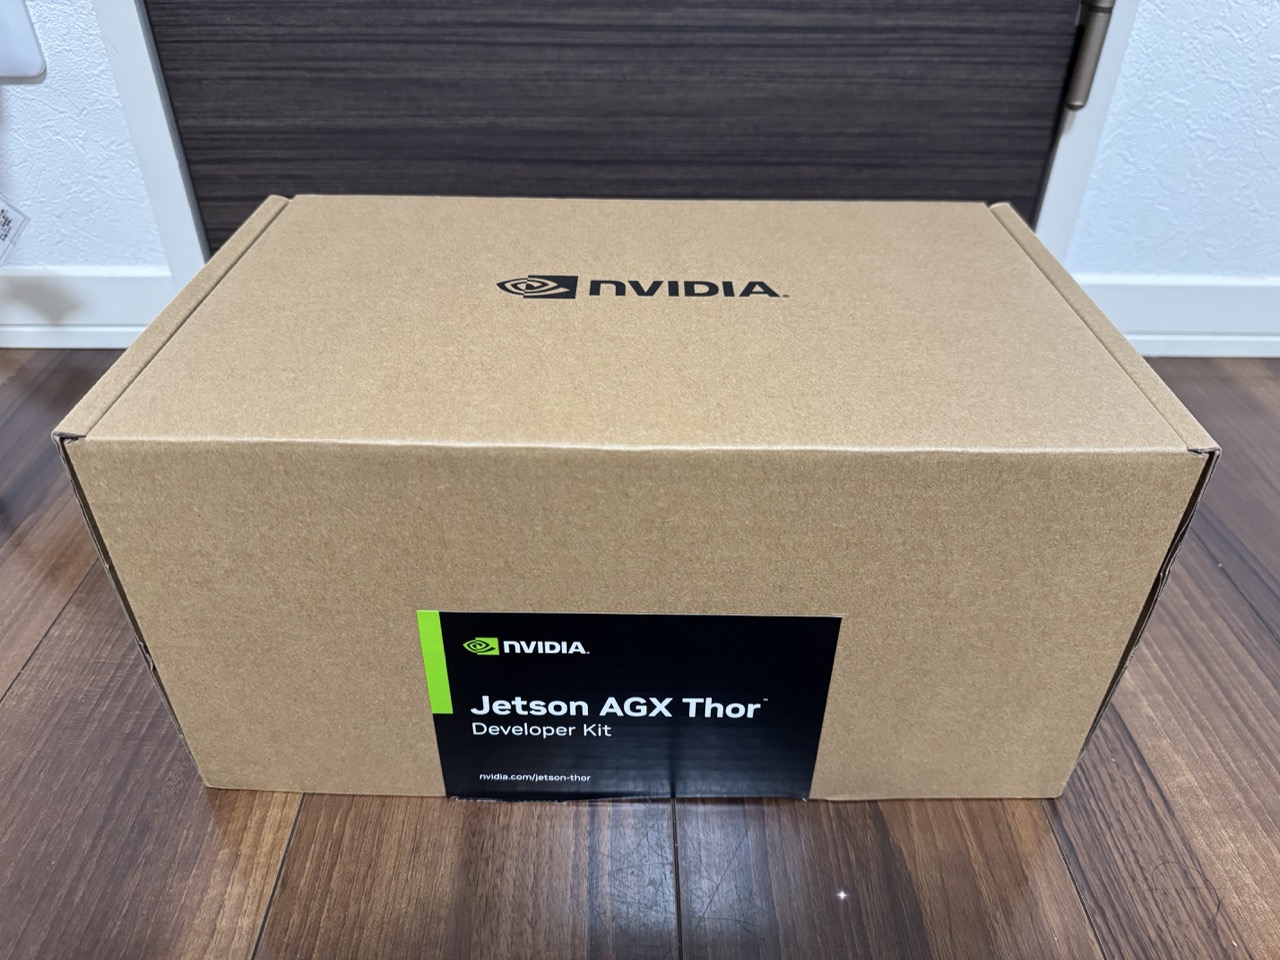
Unfortunately, my kit didn’t come with the NVIDIA CEO’s autograph, but the contents should be the same, so no problem.
Unboxing loading…⏳8.25.25. pic.twitter.com/mcbmDpcuwU
— NVIDIA Robotics (@NVIDIARobotics) August 21, 2025
Unboxing
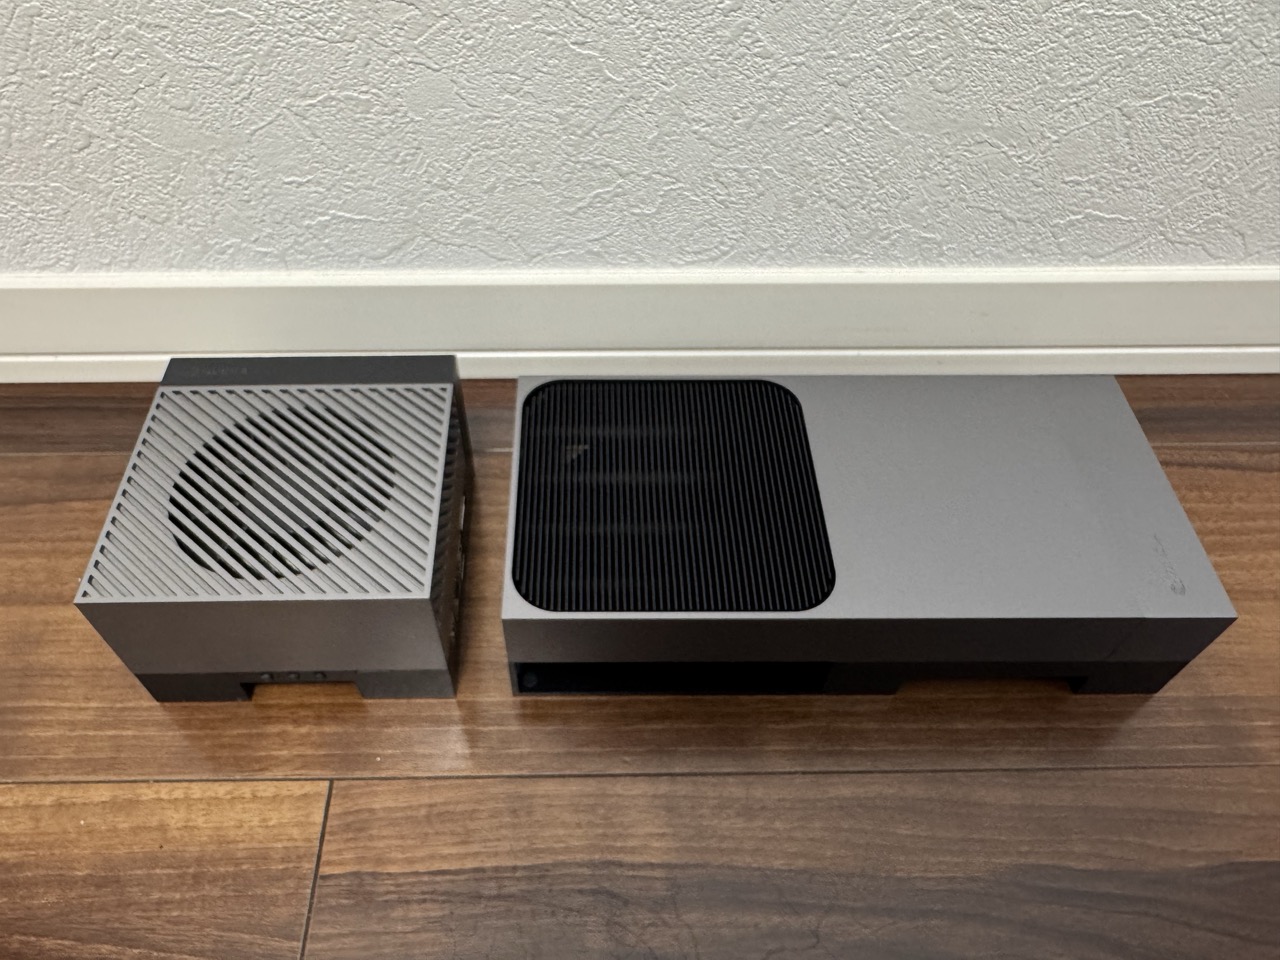
In the box: the unit, power adapter/cable, and a quick guide. Compared with my AGX Orin DevKit (64GB), Thor is slightly shorter but twice wider. The heatsink sits sideways with more clearance underneath, signaling stronger thermal design. The AC adapter is a larger square brick (custom form factor).
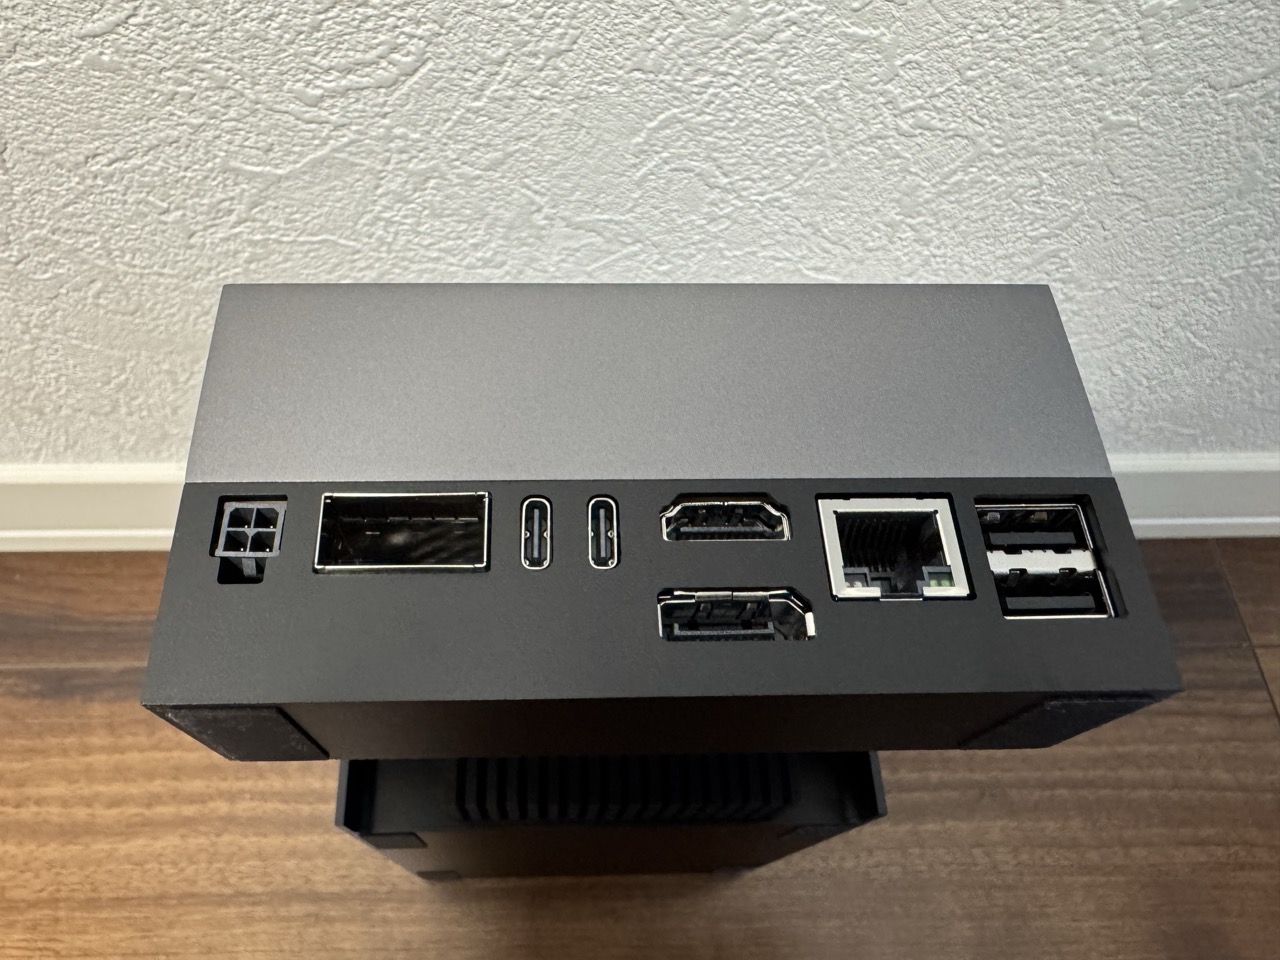
I/O highlights: USB Type‑A ×2, USB‑C ×2, Ethernet, QSFP28 cage, and both DisplayPort and HDMI outputs. Sethe official hardware layoutut for full details.


Setup
Follow the Quick Start to install Jetson Linux (BSP) using the new Jetson ISO method introduced with JetPack 7. It’s a bootable installer USB (not a “Live USB”), and you don’t need a host Ubuntu PC.
- https://docs.nvidia.com/jetson/agx-thor-devkit-4fed1671/user-guide/latest/quick_start.html
High‑level flow:
- Download the Jetson ISO for Thor (see JetPack release page).
- Write the ISO to a USB flash drive (balenaEtcher, Rufus, or
dd). - Connect keyboard, mouse, display (HDMI/DP), and Ethernet.
- Insert the USB stick and power on Thor (UEFI defaults to USB boot). Install BSP to NVMe.
- Reboot; complete oem‑config (locale, keyboard, user) on first boot from NVMe.
Media note (Type‑C → Type‑A fixed it)
I first used a USB Type‑C flash drive and hit the error below, unable to proceed. Switching to a USB Type‑A flash drive solved it with the same steps. The docs say either port works; in practice I recommend a Type‑A stick—especially since one USB‑C port is occupied by power.

Host‑PC‑less installation
From Thor/JetPack 7 onward, you can set up entirely with the installer USB—no SDK Manager or host PC required. Remember it’s not a “Live USB”; it’s purely an installer. Once the guided steps complete, you’ll boot from NVMe and land on the desktop.

What’s next
I’ve started local inference experiments with Ollama on Thor. Next time I’ll share setup notes and initial benchmarks, followed by JetPack details, Docker workflows, and ROS 2/Autoware integration.
Feedback and requests are welcome—ping me on X or LinkedIn and I’ll try them on my unit.